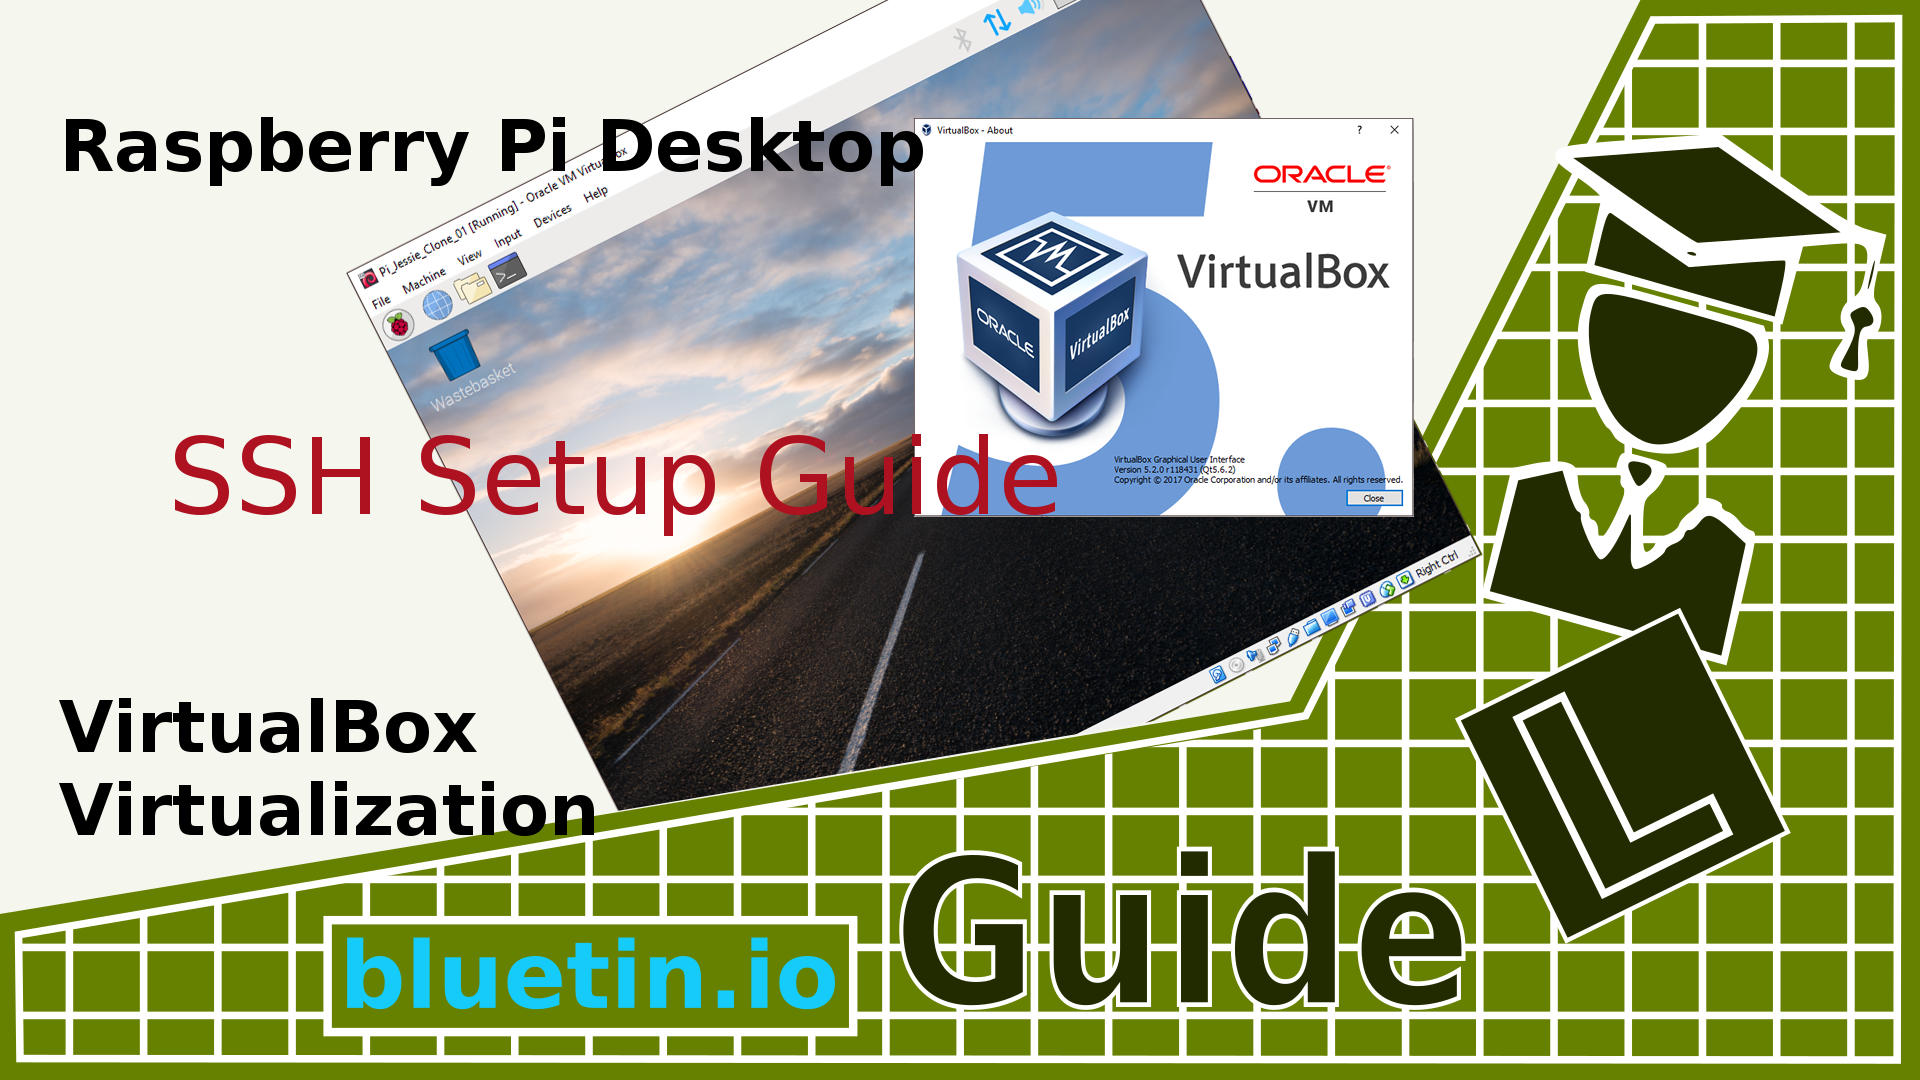
SSH RemoteIoT Raspberry Pi Free Download: A Beginner's Guide To Secure Access
Listen up, tech enthusiasts and Raspberry Pi lovers! If you're here, chances are you're looking for a way to dive into the world of SSH RemoteIoT Raspberry Pi free download. This article is your one-stop shop for everything you need to know about setting up secure shell (SSH) connections for your Raspberry Pi projects. No fluff, just actionable tips and tricks to help you get started. So, buckle up and let's get into it.
SSH, or Secure Shell, is more than just a protocol—it's your gateway to remote control and management of your IoT devices. Imagine being able to access your Raspberry Pi from anywhere in the world, tweak settings, and monitor performance without needing to physically touch the device. Sounds cool, right? Well, that's exactly what SSH RemoteIoT can do for you. And guess what? You can download and set it up for free!
In this guide, we’ll break down everything from the basics of SSH to advanced configurations, all while keeping things simple and easy to follow. Whether you're a seasoned pro or just starting out, this article has something for everyone. So, let's jump right in and make your Raspberry Pi dreams a reality!
- Chloandmatt Onlyfans A Deep Dive Into Their Journey Content And Success
- Brooke Monk Nudes The Truth Behind The Clickbait And The Real Story
Here's a quick overview of what we'll cover:
- What is SSH and why it matters
- How to enable SSH on your Raspberry Pi
- Steps to download and install SSH RemoteIoT
- Tips for securing your SSH connection
- Advanced configurations for power users
What is SSH and Why Should You Care?
SSH, or Secure Shell, is like a superpower for your Raspberry Pi. It allows you to remotely access and control your device from anywhere, as long as you have an internet connection. Think of it as a secure tunnel that lets you send commands, transfer files, and manage your IoT projects without needing to be physically present. This is especially useful if you're running a headless setup (no monitor or keyboard attached) or if your Pi is located in a hard-to-reach place.
But why should you care about SSH? Well, here's the deal: SSH provides encrypted communication between your computer and your Raspberry Pi. This means all your data is protected from prying eyes, making it a must-have for anyone serious about IoT security. Plus, it's free and relatively easy to set up, even for beginners.
- Camilla Araujo Porn Unveiling The Truth Behind The Viral Sensation
- Savannah Demers Nude Unveiling The Truth Behind The Controversy
SSH vs Other Protocols: Why SSH Wins
Now, you might be wondering, "Why not just use FTP or Telnet?" Great question! While those protocols have their uses, they lack the security features that SSH offers. Here's a quick comparison:
- FTP: File Transfer Protocol is great for transferring files, but it's not encrypted, which makes it vulnerable to attacks.
- Telnet: Another option for remote access, but it's outdated and doesn't offer any encryption.
- SSH: The clear winner when it comes to security, ease of use, and versatility.
SSH is like the Swiss Army knife of remote access tools. It can handle everything from file transfers to command-line operations, all while keeping your data safe and sound.
Enabling SSH on Your Raspberry Pi
Alright, let's get our hands dirty and enable SSH on your Raspberry Pi. Don't worry, it's easier than you think. Here's a step-by-step guide:
- Boot up your Raspberry Pi and make sure it's connected to the internet.
- Open the terminal on your Pi or connect to it via a desktop interface.
- Type
sudo raspi-configand hit enter. - Use the arrow keys to navigate to "Interfacing Options" and press enter.
- Select "SSH" and enable it by choosing "Yes".
- Reboot your Pi to apply the changes.
And that's it! SSH is now enabled on your Raspberry Pi. You can verify this by typing sudo service ssh status in the terminal. If it says "active (running)", you're good to go.
Troubleshooting SSH on Raspberry Pi
Sometimes things don't go as planned. If you're having trouble enabling SSH, here are a few tips to help you troubleshoot:
- Make sure your Pi is connected to the internet.
- Check if the SSH service is running by typing
sudo service ssh status. - If you're using a headless setup, create an empty file named "ssh" on the boot partition of your SD card before booting your Pi.
These simple steps should help you get SSH up and running in no time.
Downloading SSH RemoteIoT for Raspberry Pi
Now that SSH is enabled on your Pi, it's time to download SSH RemoteIoT. This powerful tool allows you to manage your IoT projects from anywhere, making it an essential part of your Raspberry Pi setup. Here's how you can get it:
Head over to the official SSH RemoteIoT website or GitHub repository and download the latest version. Make sure to check the compatibility with your Raspberry Pi model before installing. Once downloaded, follow the installation instructions carefully to avoid any issues.
Free vs Paid Versions: What's the Difference?
SSH RemoteIoT offers both free and paid versions, each with its own set of features. Here's a quick rundown:
- Free Version: Perfect for beginners and hobbyists, offering basic SSH functionality.
- Paid Version: Designed for power users, offering advanced features like multi-device management and enhanced security options.
For most users, the free version should be more than enough to get started. But if you're looking for more advanced features, the paid version might be worth considering.
Securing Your SSH Connection
Security should always be a top priority when working with IoT devices. Here are some tips to help you secure your SSH connection:
- Change the default SSH port (22) to something less common to avoid brute-force attacks.
- Use strong, unique passwords or SSH keys for authentication.
- Enable two-factor authentication (2FA) for an extra layer of security.
- Limit access to specific IP addresses or networks.
By following these simple steps, you can significantly reduce the risk of unauthorized access to your Raspberry Pi.
SSH Keys vs Passwords: Which is Better?
When it comes to securing your SSH connection, SSH keys are generally considered more secure than passwords. Here's why:
- SSH keys are longer and harder to crack than passwords.
- They eliminate the risk of brute-force attacks by requiring a private key for authentication.
- Once set up, they provide a seamless login experience without the need to enter a password every time.
So, if you haven't already, consider switching to SSH keys for your Raspberry Pi projects.
Advanced Configurations for Power Users
If you're looking to take your SSH RemoteIoT setup to the next level, here are some advanced configurations to try:
- Set up a reverse SSH tunnel for secure access behind firewalls.
- Automate tasks using SSH scripts and cron jobs.
- Monitor system performance in real-time using tools like htop or glances.
These configurations may require some technical know-how, but they can greatly enhance your Raspberry Pi experience.
Reverse SSH Tunnel: What It Is and How to Set It Up
A reverse SSH tunnel allows you to access your Raspberry Pi even if it's behind a firewall or NAT. Here's how you can set it up:
- On your Raspberry Pi, run the command
ssh -R 2222:localhost:22 user@remote-server. - From your remote server, connect to your Pi using
ssh -p 2222 pi@localhost.
And just like that, you've got a secure connection to your Pi, no matter where you are.
Common Mistakes to Avoid
Even the best of us make mistakes, but here are a few to watch out for when working with SSH RemoteIoT:
- Using weak passwords or default credentials.
- Not securing your SSH connection with encryption or SSH keys.
- Forgetting to update your Raspberry Pi's software and firmware regularly.
By avoiding these common pitfalls, you can ensure a smooth and secure SSH experience.
Conclusion
So there you have it, folks! SSH RemoteIoT Raspberry Pi free download is your key to unlocking the full potential of your IoT projects. Whether you're a beginner or a seasoned pro, SSH offers a secure and versatile way to manage your Raspberry Pi from anywhere in the world.
Now it's your turn to take action. Download SSH RemoteIoT, enable SSH on your Raspberry Pi, and start exploring the endless possibilities of IoT. And don't forget to share your experiences and tips in the comments below. Happy tinkering!
- Is Val Sweeting Married The Fascinating Journey Of A Curling Champion
- Anjali Arora Mms Video The Untold Story And Facts You Need To Know

Programming Raspberry Pi Remotely using VS Code (RemoteSSH) Random
Mastering SSH RemoteIoT Device Raspberry Pi Free Download A
SSH RemoteIoT Raspberry Pi Download Free A Comprehensive Guide
